
Measurement
How to Measure Rough Openings for Custom Windows and Doors
Accurate custom-unit sizing requires more than one width and height. This field guide explains what a qualified local team should document, including multiple measurements, diagonals, plumb, level, sill conditions, wall depth and finished-floor elevations.
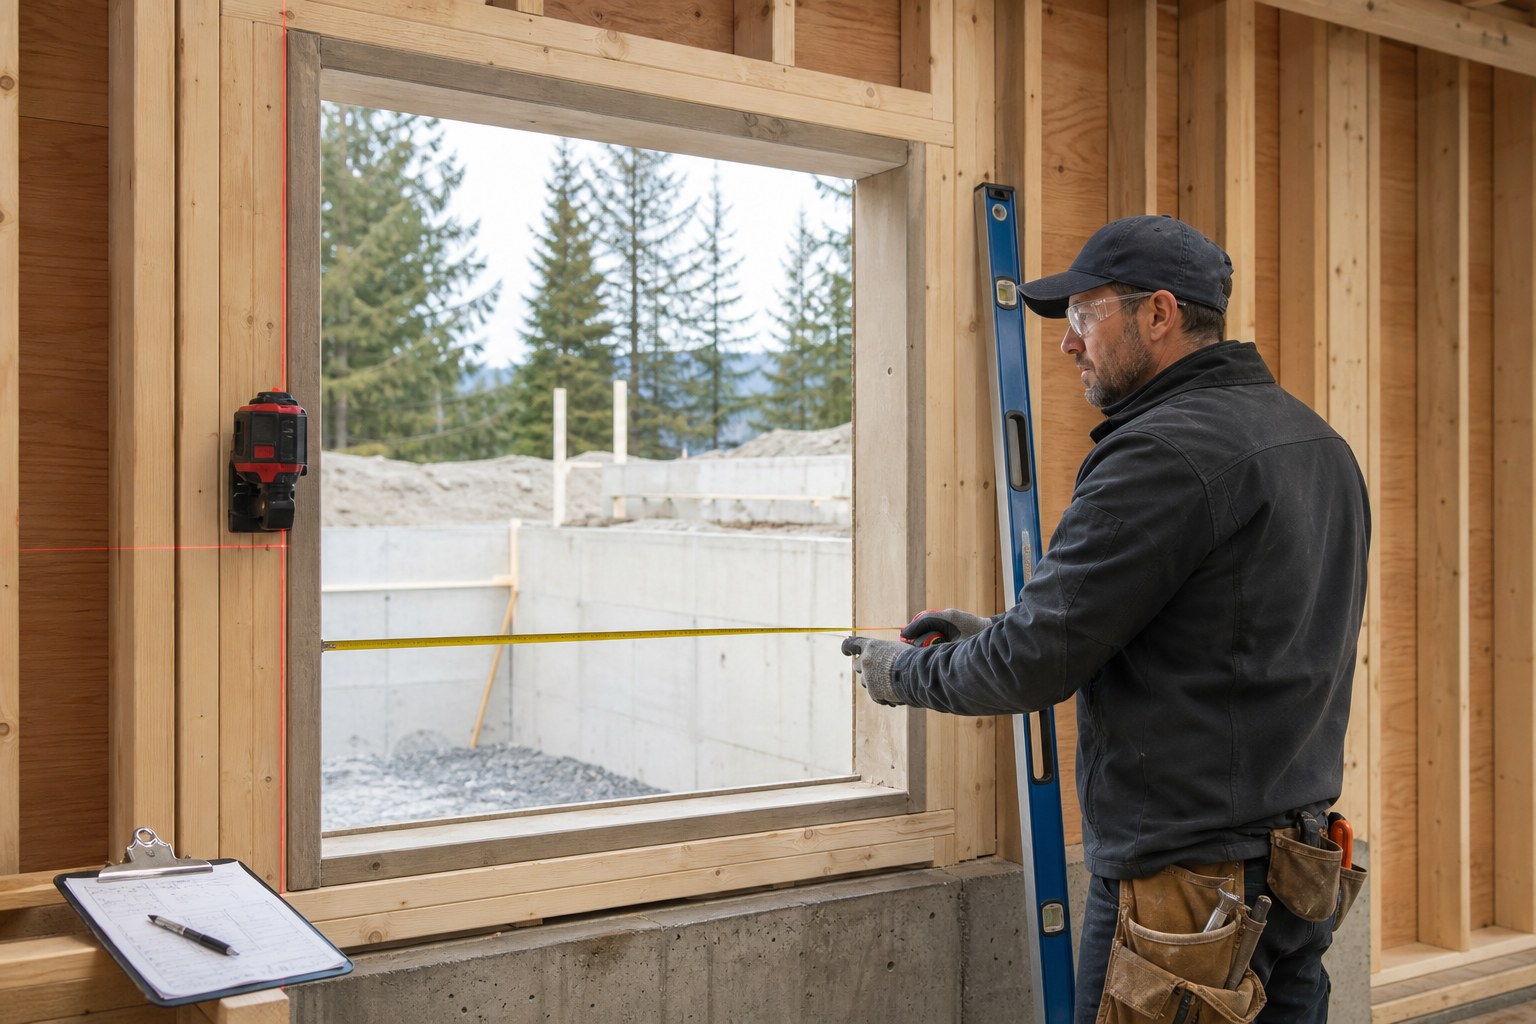
Quick answer: Measure every opening at multiple points, record the smallest clear width and height, and check square, plumb, level, sill condition, depth, structure, waterproofing interfaces, and finished floor elevations. Do not convert a rough opening into a manufacturing size by applying a universal deduction. The qualified local team and manufacturer must agree on the installation clearance and final approved unit size.
Measurement errors are expensive because a custom unit is built for a specific opening and installation detail. A single width and height cannot describe a twisted frame, sloped sill, bowed jamb, uneven floor, or header that may deflect. The goal of field verification is not simply to produce two numbers; it is to document the conditions that control fit and installation.
Before measuring, identify what the opening represents
Confirm whether you are measuring structural framing, masonry, a buck, an existing finished opening, or another substrate. Identify which layers will remain and which will be added before installation. Note sheathing, membranes, exterior cladding, interior finishes, sill pans, insulation, sealant joints, receptors, subframes, and trim.
Also confirm whether the project documents call for an exact unit dimension, a nominal dimension, or a rough-opening relationship. These terms are not interchangeable.
Tools and records
- Reliable tape measure and, where appropriate, a calibrated laser measure
- Long level or laser level
- Square or diagonal measurement method
- Camera and opening-identification tags
- Project drawings and current window or door schedule
- Field sheet that records units, date, measurer, opening mark, and conditions
Use one unit system consistently. If both inches and millimeters appear in the project, state which dimension governs and avoid repeated manual conversions.
Step 1: Measure width at more than one location
Measure the clear opening near the head, at mid-height, and near the sill. Record all three—not only the smallest result. Differences reveal jambs that are not parallel or framing that is bowed. For tall openings, additional measurements may be appropriate.
Step 2: Measure height at multiple locations
Measure from the defined sill or floor reference to the head at the left, center, and right. Record planned floor buildup and whether the measurement is taken from structural slab, subfloor, finished floor, sill pan, or buck. Door height errors frequently arise when tile, stone, sleepers, waterproofing, or recessed tracks are not included.
Step 3: Check square using diagonals
Measure both diagonals from opposite corners. Equal diagonals support—but do not alone guarantee—a square opening. Record the difference and identify which corners are displaced. Do not expect installation clearance to correct a severely out-of-square structure without a coordinated repair.
Step 4: Check plumb, level, straightness, and plane
Verify both jambs for plumb and the sill and head for level. Check whether the substrate bows inward or outward. For large assemblies, evaluate whether the four sides lie in a compatible plane. A nominally correct width can still be unusable if the opening is twisted.
Step 5: Document depth and interfaces
Record wall thickness and the intended frame position relative to structure, insulation, water-resistive barrier, exterior cladding, and interior finish. Photograph the sill, corners, head, jambs, membranes, and surrounding conditions. Mark the interior and exterior sides so opening direction is never inferred incorrectly.
Step 6: Review structure and movement
Confirm the opening has the required structural support and anchorage zones. Header deflection, slab edges, steel, post-tensioning, masonry reinforcement, and concealed utilities require review by the appropriate qualified professional. The product manufacturer should not be asked to solve building-structure conditions from opening dimensions alone.
Step 7: Establish the manufacturing size collaboratively
Do not automatically subtract a fixed fraction from every opening. Required clearance depends on product type, frame profile, installation method, substrate tolerance, shim space, sealant joint, flashing, movement, and local practice. Submit the measured conditions to the manufacturer and local project team, then approve the resulting unit dimensions on the shop drawings.
Additional checks for large doors
- Finished floor elevation on both sides
- Track recess and sill-pan geometry
- Drainage path and exterior slope
- Overhead and lateral structural movement
- Panel swing, stack, pocket, or overlap space
- Delivery route, glass handling, and installation equipment
- Alignment across multi-panel or corner conditions
Common measurement mistakes
- Measuring only once at the center
- Using plan dimensions as final field dimensions
- Ignoring finished floor or sill buildup
- Deducting a standard allowance without an approved detail
- Failing to label interior, exterior, handing, and opening direction
- Combining similar openings under one size without measuring each one
- Approving production while framing or masonry is still changing
- Sending dimensions without photographs or opening marks
Field information to send with each opening
Include opening ID, room or elevation, width measurements, height measurements, diagonals, plumb and level observations, sill and floor references, wall depth, photographs, drawing reference, operating direction, unresolved conditions, and the name and date of the person who measured it. The final shop drawing should show the manufacturing dimension separately from the field-measured opening.
Frequently asked questions
Should the homeowner provide final dimensions?
Final production dimensions should be verified by a qualified local contractor, architect, or other responsible project professional familiar with the installation and field conditions.
Can MERUZY calculate unit sizes from rough openings?
MERUZY can coordinate proposed unit dimensions and details from submitted information, but the local team must verify the field conditions and approve the final drawings before production.
When should openings be measured?
Preliminary measurements can begin early. Final verification should occur after the controlling structure and substrates are sufficiently complete and stable for reliable measurement.
Send the measurements you have
Technical references
- ASTM E2112-23, Standard Practice for Installation of Exterior Windows, Doors and Skylights — installation conditions vary, and product-specific manufacturer instructions and project coordination remain essential.
- Pella Aluminum Pivot Door Installation — an example of measuring an opening at three locations and verifying plumb, level, and square. Its stated clearances apply to that product, not universally.
- Pella Rough Opening Clearance Recommendations — explains how flashing, shims, seals, movement, framing, and product configuration affect required clearance.
- Andersen Installation Guide Configurator — reinforces using instructions specific to the product and wall construction.
Send the measurements you have
You do not need a perfect package to begin a design discussion. MERUZY can review plans, schedules, photographs, and preliminary opening dimensions, identify missing information, coordinate proposed product dimensions and drawings, and prepare a free design and quotation. The local project team remains responsible for verifying site conditions and approving final production information. Request a free project design and quotation.
Safety and scope note: Field measurement and installation must be performed by qualified local personnel using appropriate access equipment and project-specific procedures. This guide does not replace the approved drawings or professional judgment.
Editorial review
Prepared for project education and reviewed for consistency with MERUZY’s current supply-only design, quotation and delivery process. Project-specific requirements are governed by approved documents and the formal order.
Reviewed by: MERUZY Project Coordination Team
Sources and further reading
QUESTIONS & DISCUSSION
Ask a question or add to the discussion
Have a question about this guide? Ask it here. The MERUZY team and other project professionals may respond.
Do not include private project information, addresses, drawings, pricing, order details, phone numbers or email addresses in your public comment.
Have a project to review?
Share your plans, rough dimensions, or schedules for a comprehensive DDP estimate and technical review.